
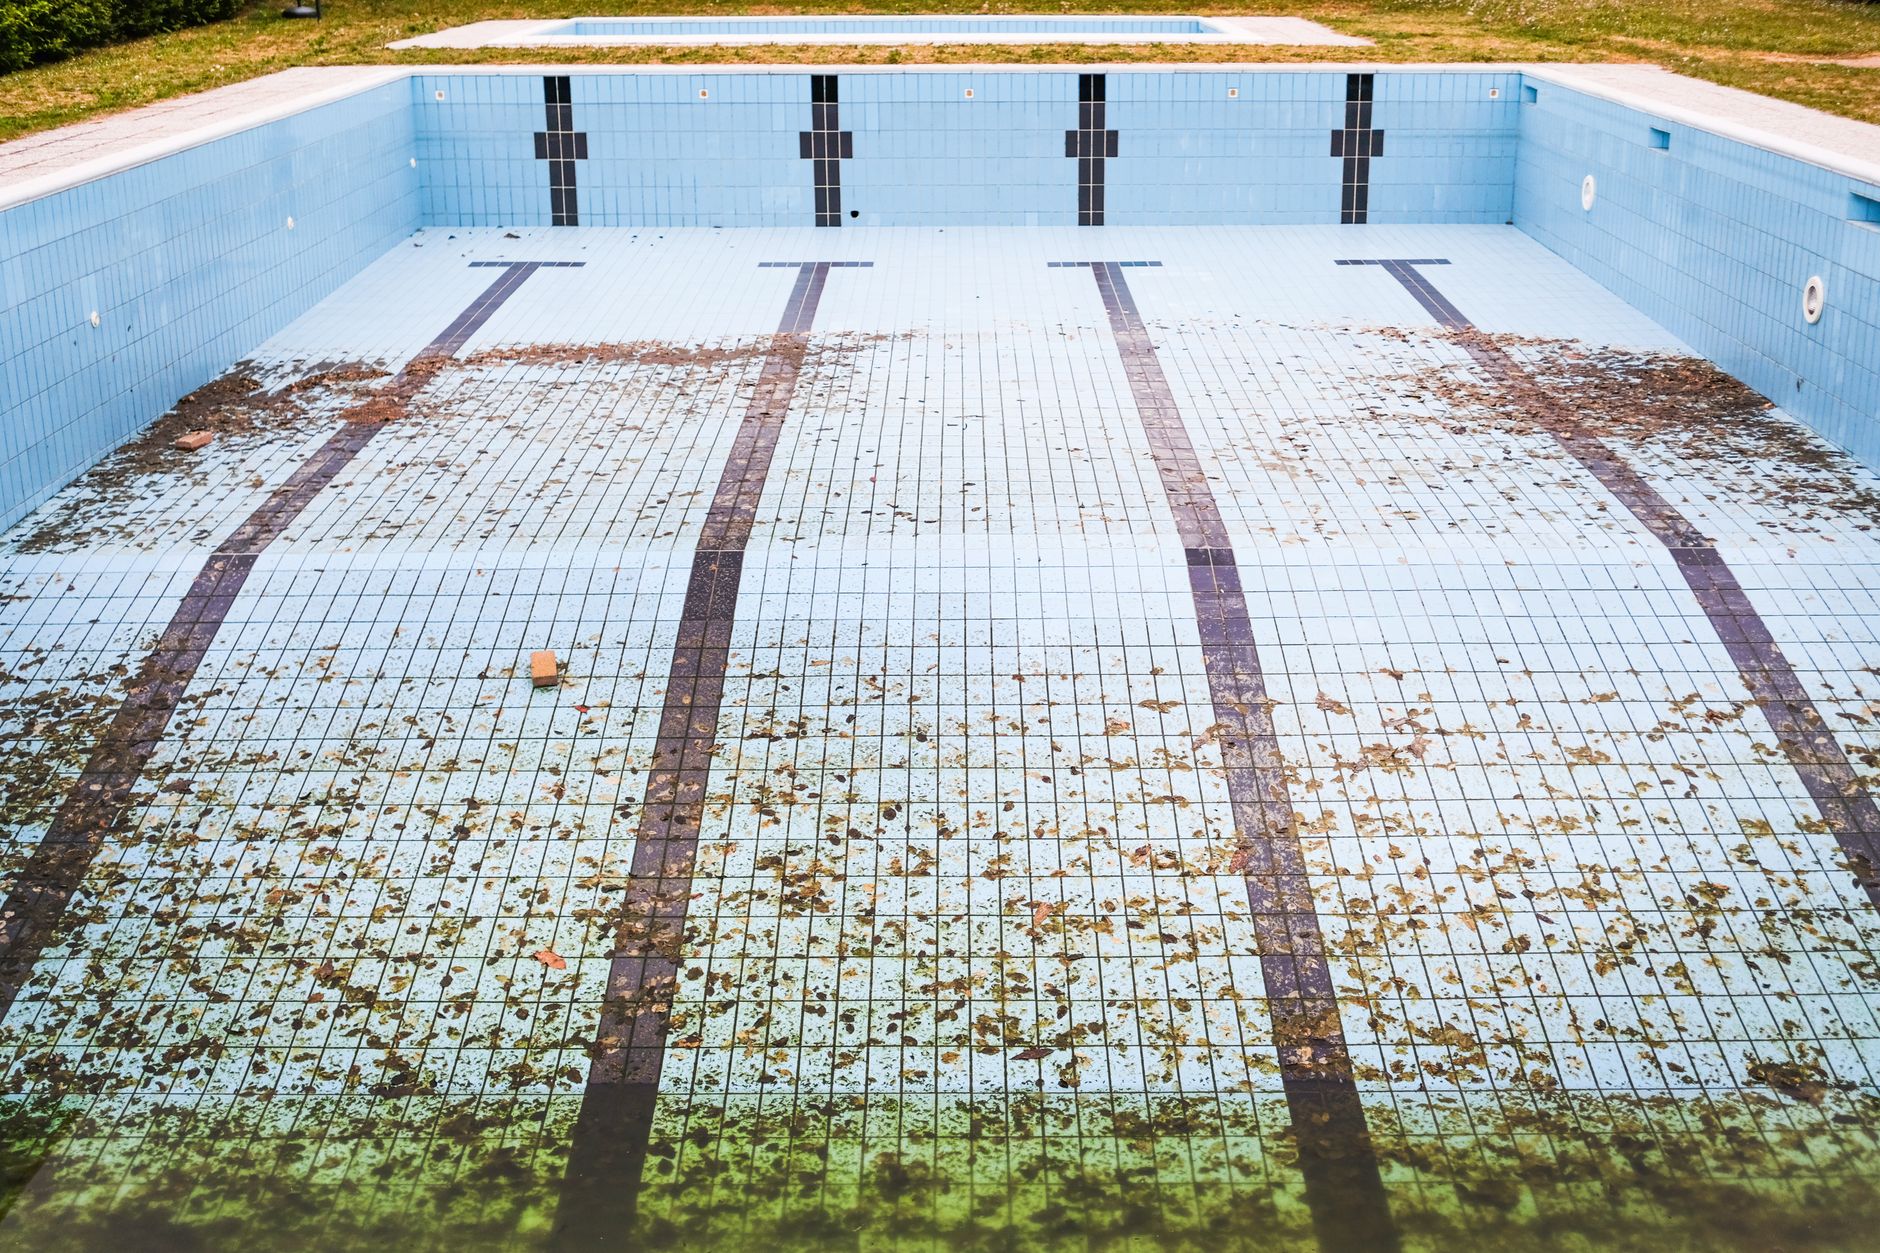
Pool repairs fix structural leaks, failing pump motors, plumbing cracks, and worn surface plaster to keep your swimming system running safely. Most residential swimming pool repairs cost between $350 and $2,700 depending on whether the issue involves minor plumbing valves or underground plumbing lines. Addressing minor mechanical or structural defects immediately prevents severe water loss and structural settling that can ruin an entire basin.
Understanding equipment breakdowns, structural cracking, and plumbing failures helps property owners address swimming pool repairs before cosmetic wear turns into total foundation failure. In Florida and across the South, intense sun, high humidity, and continuous ground moisture speed up equipment degradation and surface staining. Knowing how to troubleshoot pumps, identify surface wear, and budget for seasonal work protects your investment.
Pool Repairs Typically Cost Between $150 and $5,500 Across Major Categories
Equipment fixes generally represent the most common maintenance expenses, whereas shell restorations require deeper capital investments. Minor mechanical adjustments like replacing a chlorinator lid o-ring cost less than $100 in materials. Subsurface pipe fractures or complete gunite re-plastering require heavy labor and specialized tools that drive bills into thousands of dollars.
Labor expenses make up roughly fifty to seventy percent of the total invoice on major structural jobs. Equipment replacements carry higher material expenses but require shorter service times. Balancing mechanical servicing with regular surface upkeep prevents multiple systems from failing simultaneously.
Average Equipment Repair Costs
Replacing a mechanical pump motor typically runs between $250 and $650 for parts and labor. Swapping out a failed multi-port valve on a sand or DE filter generally costs between $175 and $400. Replacing heating elements or gas control boards on a swimming pool heater often totals $400 to $1,200.
Investing in regular Pool Maintenance minimizes unexpected electrical burnouts and motor seizures. When filter cartridges or sand beds become heavily packed with calcified oils, internal head pressure spikes. That added resistance forces motors to draw excess amperage, which burns out internal windings ahead of schedule.
Structural Shell and Plaster Repair Expenses
Patching structural cracks in concrete or gunite with hydraulic cement and epoxy injection stitches ranges from $1,200 to $3,500. Vinyl liner tears can be patched underwater for $200 to $500, but complete liner replacements average $3,000 to $6,000. Fiberglass gelcoat restorations or blister grinding can run from $1,500 to $4,500 depending on surface square footage.
Minor cosmetic chips can often wait a short time, but structural fractures that pass through concrete need immediate structural stapling. Torque lock carbon-fiber staples stabilize shifting soil stress across fractured gunite walls. Leaving those cracks unaddressed allows escaping water to wash away surrounding foundation subsoil, triggering deck subsidence.
Underground Plumbing and Leak Detection Pricing
Specialized acoustic and pressure leak detection services cost between $350 and $800 to locate underground breaks accurately. Once pinpointed, excavating concrete pool decking and cutting into PVC lines runs between $600 and $2,200 per fracture. Main drain line breaks under deep ends cost significantly more due to diver labor or complete basin drainage.
Modern electronic listening discs and helium injection testing pinpoint pipe breaks without destructive trenching across entire patios. Once pinpointed, technicians sawcut small concrete viewports directly over the damaged pipe. That targeted approach saves thousands of dollars in decorative patio resurfacing compared to tearing up entire pool decks.
Diagnosing Common Structural Leaks and Circulation Failures in Pool Repairs
Structural leaks and suction line failures cause the vast majority of water and pressure loss problems. Performing basic isolation tests saves diagnostic hours and prevents purchasing unnecessary replacement parts. Technicians rely on pressure testing each line independently to separate mechanical seal leaks from sub-grade pipe collapses.
Persistent water drops of more than a quarter-inch per day signal genuine plumbing or structural fractures rather than standard evaporation. Evaporation rates fluctuate with humidity, wind speed, and water temperature, but consistent losses demand formal testing. Catching leaks early preserves structural stability and stops chemical washouts.
The Bucket Test for Structural Leak Verification
The bucket test isolates natural surface evaporation from real plumbing or structural cracks. Place a five-gallon bucket filled with water on the pool step, matching the interior water height to the pool level. Mark both levels with electrical tape and let the pool run normally for twenty-four hours.
If the pool water drops noticeably faster than the water inside the bucket, you are losing water through a structural or plumbing defect. If both levels drop at the exact same rate, atmospheric evaporation is the culprit. Run the test a second time with the pump turned off to see if the loss happens primarily under pressure or during resting periods.
Identifying Pump Suction Leaks and Air Bubbles
Bubbles churning inside the clear strainer pot lid point directly to an air leak on the suction side of your plumbing. Common sources include loose threaded intake unions, worn drain plug o-rings, or a cracked clear strainer lid. Low water levels that pull vortex whirls into the surface skimmer also draw heavy air into the system.
When air enters the suction plumbing, the pump loses its prime and runs dry. Dry running warps internal diffusers, melts shaft seals, and scorches the motor basket. Regularly brushing silicone lubricant on threaded union gaskets prevents dry air leaks before they melt your impeller housing.
Skimmer Throat and Return Line Dye Testing
Dye testing uses dark food coloring or specialized leak-tracing dye to confirm cracks around skimmer mouths and return wall fittings. Turn off all pumps so water currents settle completely across the basin. Float near the skimmer faceplate and squeeze small clouds of dye near the plastic-to-concrete seam.
If dye gets pulled into the seam, water is escaping through a cracked throat joint or dried plaster junction. Re-sealing these areas with underwater two-part epoxy putty provides a durable temporary fix without draining the basin. Severe separations may require breaking out the skimmer and installing a new unit encased in fresh concrete.
Equipment Troubleshooting: Motors, Filters, and Sanitizers in Pool Repairs
Pumps, filtration tanks, and chlorination units form the functional heart of your circulation system. Mechanical parts wear down under constant friction, mineral scaling, and exposure to corrosive chemicals. Pinpointing operational sounds and pressure changes lets you address mechanical failure before the motor burns out completely.
Routine Pool Cleaning keeps coarse debris out of delicate mechanical housings. When baskets split, pine needles, small stones, and palm seeds slip directly into the spinning pump impeller. That debris jams internal vanes, starves water flow, and trips electrical breakers.
Resolving Loud Pump Screeches and Humming Motors
A loud, high-pitched screeching sound coming from a motor housing indicates corroded internal ball bearings. Bearings fail when the ceramic mechanical shaft seal leaks, allowing pressurized chlorinated water to enter the front motor bracket. Replacing bearings costs around $150 to $250, whereas ignoring the screech eventually freezes the rotor.
If the motor hums loudly without spinning, the run capacitor has likely failed or debris is jamming the front impeller. Turn off breaker power, remove the rear capacitor cover, and inspect the cylinder for bulging or scorch marks. Capacitors are inexpensive components that restore motor starting torque safely when replaced properly.
High Filter Pressure and Compromised Flow Rates
Filter pressure rising eight to ten PSI above clean starting pressure indicates the internal media is packed with trapped solids. Cartridge filters require thorough spraying with a high-pressure hose, while sand and DE systems require thorough backwashing. If pressure stays high after cleaning, chemical oils or calcium scale have clogged the micro-pores of the media.
Cartridge elements typically require full replacement every two to three seasons in high-use environments. Sand beds require complete media replacement every four to five years to combat channelization, where water cuts direct paths through sand without filtering out contaminants. Fresh media restores clean water polishing and lowers operational head pressure.
Salt Water Chlorinators and Erosion Feeders
Salt chlorine generation cells routinely suffer from calcium buildup on their energized titanium plates. Mineral plating restricts electrical conductivity, prompting the control panel to report low salt levels even when salt levels are correct. Cleaning the cell with a diluted muriatic acid bath removes scale deposits and restores chlorine production.
Inline erosion chlorinators experience brittle control dials, cracked check valves, and degraded lid o-rings over time. When internal check valves fail, concentrated chlorine backs up into heating chambers and pump components during shutdowns. That acid backup quickly ruins copper heat exchangers, causing unexpected heater repairs.
Structural Shell Restoration: Plaster, Pebble, and Tile in Pool Repairs
Surface coatings preserve the underlying concrete basin while providing a smooth, watertight barrier for swimmers. Constant exposure to imbalanced water chemistry pulls calcium directly out of pool plaster, causing pitting, rough etching, and delamination. Addressing localized surface defects extends the working lifespan of the entire interior finish.
In coastal Florida, shifting water tables create hydrostatic pressure beneath concrete shells. Unbalanced interior water weights paired with groundwater pressure can crack plaster coatings and cause tile lines to loosen. Proper Jacksonville Pool Repairs balance chemical water metrics with reliable shell waterproofing to keep finishes sound.
Repairing Delaminated and Hollow Plaster
Delamination happens when surface plaster separates from the underlying gunite shell, creating hollow air pockets underwater. You can locate hollow spots by tapping the pool floor with a heavy pole, listening for a dull thud rather than a crisp ping. Small hollow blisters can be chiseled out, prepared with bonding compound, and patched with underwater hydraulic cement.
Extensive delamination across more than fifteen percent of the pool basin generally requires complete surface removal and re-plastering. Technicians hydro-blast or chip the failing plaster down to bare gunite before applying a new bond coat. Upgrading to a quartz or pebble-aggregate finish increases resistance to chemical etching and extends plaster life beyond fifteen years.
Re-setting Loose Waterline Tiles and Replacing Grout
Waterline tiles fall off when pool water freezes, soil shifts, or hard water leaves severe calcium carbonate crusts along the grout joints. Loose tiles allow water to seep behind the pool coping, loosening surrounding bricks and eroding the bond beam. Re-adhering tiles requires waterproof polymer-modified thin-set mortar and mold-resistant pool grout.
Acid cleaning clears stubborn scale along the tile band before replacing grout lines. Never use standard bathroom thin-set or household silicone caulk, as submerged chemical exposure causes efficient failure. Flexible polyurethane mastic expansion joints behind coping stones keep patio movement from cracking top tile courses.
Fixing Gunite Cracks with Carbon Fiber Staples
Structural cracks traversing the floor or steps require cross-stitching with carbon-fiber or high-tensile steel staples. Technicians cut perpendicular slots across the crack line, drill anchor holes, and inject structural epoxy into the gap. Inserting heavy carbon staples across the cut distributes structural tension, keeping the fracture from widening.
Once stabilized, the surface is sealed with hydraulic waterproofing cement and blended with matching plaster colorant. This engineering approach stabilizes active shifting without requiring expensive excavation around the exterior shell. It forms an essential repair before completing new pool plastering projects.
When to Choose DIY Fixes Versus Hiring Professionals for Pool Repairs
Handy property owners can handle simple maintenance tasks, but high-voltage electrical work and sub-grade plumbing demand professional expertise. Choosing the right path prevents dangerous mechanical accidents and protects your budget from costly amateur mistakes. Knowing your personal limits saves time and keeps your equipment running smoothly.
Equipment modifications also intersect with property improvement projects. When homeowners tackle a broader bathroom remodel or coordinate a kitchen remodel, they often update pool plumbing and outdoor electrical circuits simultaneously. Coordinating outdoor mechanical upgrades alongside routine Home Repairs keeps all systems compliant with local building codes.
| Repair Task | Recommended Approach | Estimated Cost | Average Time | Risk Level |
|---|---|---|---|---|
| Pump Lid O-Ring Replacement | DIY Friendly | $15 - $35 | 15 Minutes | Low |
| Filter Cartridge Replacement | DIY Friendly | $60 - $180 | 45 Minutes | Low |
| Salt Cell Acid Wash | DIY Friendly | $25 - $45 | 1 Hour | Moderate |
| Pump Motor Replacement | Professional | $250 - $650 | 2 - 3 Hours | High (Electrical) |
| Gas Heater Ignition Repair | Professional | $300 - $900 | 2 - 4 Hours | High (Gas Line) |
| Underground Pipe Break Repair | Professional | $600 - $2,200 | 1 - 2 Days | High (Excavation) |
| Full Gunite Plaster Resurfacing | Professional | $4,500 - $11,000 | 5 - 7 Days | Critical (Structural) |
Straightforward DIY Pool Maintenance and Minor Fixes
Property owners can safely swap out skimmer baskets, replace cracked weir doors, and lubricate equipment o-rings with silicone grease. Changing filter pressure gauges, clearing clogs from suction cleaner lines, and testing water chemistry are also safe DIY tasks. These simple preventative jobs extend the operational life of major mechanical components.
Simple repairs require only basic hand tools, safety glasses, and chemical-resistant gloves. Keeping a small stock of backup pump lid o-rings and chlorinator gaskets avoids long shutdowns when seals fail. Maintaining clear records of equipment model numbers speeds up finding proper manufacturer replacement parts.
Critical Repairs That Require Certified Pool Technicians
Gas heater service, main breaker wiring, and high-voltage motor hookups should always be handled by licensed professionals. Gas line errors risk explosions, while improper electrical bonding exposes swimmers to lethal electrical shock hazards. Professional technicians carry specialized liability insurance and follow local municipal codes.
Commercial facilities carrying out commercial pool repairs require specialized permits and strict documentation to remain open. Technicians manage commercial pool maintenance schedules that meet public health requirements and flow rate standards. Using certified contractors prevents municipal fines and protects commercial facility operations.
Preventative Maintenance Strategies to Avoid Expensive Pool Repairs
Preventative maintenance costs far less than emergency mechanical repairs or plaster reconstruction. Balanced water chemistry protects metal equipment components, heater copper cores, and plaster surfaces from premature failure. Investing consistent effort into weekly testing stops minor chemical imbalances from corroding circulation machinery.
Proactive care also extends to your broader property setup. Moving vehicles or heavy equipment across your yard can crack buried return lines. For specialized out-of-state vehicle registration or fleet setups, resources like Montana Registration Services help with asset titling, while homeowners can rely on official resources like the Montana Motor Vehicle Division for state-level transport rules.
Managing LSI Water Balance to Protect Interior Finishes
The Langelier Saturation Index, or LSI, measures water balance across pH, total alkalinity, calcium hardness, and water temperature. Water with an LSI score below negative 0.3 is corrosive, leaching calcium directly out of pool plaster and etching concrete walls. Conversely, an LSI score above positive 0.3 creates scale, forming rough calcium crusts on tiles and clogging salt chlorine cells.
Testing for calcium hardness and total alkalinity every two weeks keeps your LSI near the ideal zero balance. Never let pH drift above 7.8, as high pH cuts free chlorine sanitizing power down by over half. Adding acid or soda ash in small, diluted doses prevents sudden chemical swings that stress delicate pool finishes.
Regular Filter Maintenance and Mechanical Inspection Routines
Cleaning out pump strainer pots and skimmer baskets weekly keeps water circulating freely and prevents motor cavitation. Check the filter tank pressure gauge every few days and note baseline clean readings on the tank with a marker. Backwash sand and DE filters whenever system pressure climbs eight to ten PSI above baseline.
Look over your equipment pad once a month for dried white salt stains, which signal slow valve leaks. Tighten leaking plumbing unions and apply silicone lubricant to rubber shaft seals before small drips turn into motor-flooding spray leaks. Keeping the concrete equipment pad clear of leaves, mulch, and ant nests also prevents electrical shorts.
Frequently Asked Questions About Pool Repairs
How can I tell if my swimming pool is leaking or just losing water to evaporation?
Perform a standard twenty-four-hour bucket test to confirm if water loss is due to leaks or atmospheric evaporation. Set a five-gallon bucket filled with water on the pool steps, matching the interior and exterior water levels, then mark both levels with tape. If the swimming pool loses significantly more depth than the bucket after twenty-four hours, you have an active leak. Evaporation rarely exceeds one-quarter inch per day under typical seasonal weather conditions.
Is it safe to run a pool pump if it makes a loud grinding or screeching noise?
No, you should not run a pump motor that is screeching or grinding. Loud screeching indicates worn, corroded internal bearings caused by a leaking mechanical shaft seal. Running the motor in this condition generates extreme friction and heat, which will quickly warp the plastic impeller, melt the motor bracket, and cause the rotor to seize completely. Turn off power at the breaker panel and replace the bearings or motor immediately.
How long does swimming pool plaster typically last before needing repair or resurfacing?
Standard white marble pool plaster lasts between seven and twelve years when water chemistry is maintained near neutral LSI balance. Bespoke quartz finishes typically last ten to fifteen years, while pebble aggregate finishes can last twenty years or longer. Regular residential pool maintenance and prompt chemical balancing stop premature pitting, staining, and surface delamination. Once plaster chips or thins down to the brown gunite base layer, complete resurfacing is needed.
Can structural pool cracks be repaired without draining the entire swimming pool?
Minor cosmetic surface cracks can be temporarily patched underwater using specialized two-part epoxy or hydraulic underwater cements. True structural cracks passing through the underlying gunite shell require draining the basin, cutting slots, and installing high-tensile carbon-fiber structural staples. Attempting to repair major foundation cracks underwater without mechanical stabilization will cause the patch to crack again as soil shifts. Always evaluate shell movement before draining a basin to avoid high water table float issues.
What causes pool return jets to blow air bubbles into the swimming pool?
Air bubbles returning through wall jets indicate a suction-side plumbing leak between the pool skimmers and the front of the pump. Air enters the plumbing through a loose threaded intake union, a dried-out pump lid o-ring, or low water levels that create vortex whirls inside skimmer mouths. Turn off the pump, inspect the clear strainer lid for cracks, apply silicone lubricant to the rubber lid gasket, and confirm the skimmer water sits at the halfway mark.
Taking care of equipment noises, surface chips, and small plumbing leaks right away prevents expensive emergency bills and keeps your water clear. If you need assistance with equipment upgrades, structural troubleshooting, or residential maintenance, our local team is ready to help you plan your next repair project.